menu item colors and borders - part 3
In Parts 1 and 2 of Editing Menu Item Colors you took a Basic styled Vertical menu and changed its colors. In this lesson you'll work with borders to give your menu a unique finishing touch. You'll remove the borders around the root menu and sub-menus, then you'll apply new borders around the individual menu items.
Remove the root menu border
The root menu border is controlled by the #p7PMnav rule.
-Open the CSS Styles panel.
-Find the #p7PMnav rule and click once to select it.
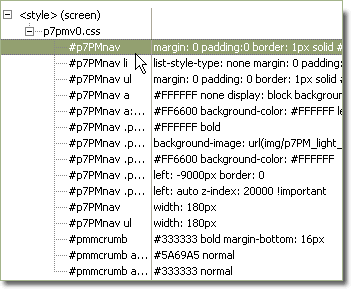
-With the rule still selected, click the edit icon along the bottom of the CSS Panel to open Dreamweaver's CSS Editor.
![]()
The CSS Editor will open.
-Switch to the Border Category.
-Clear each of the input boxes so that all boxes are blank.
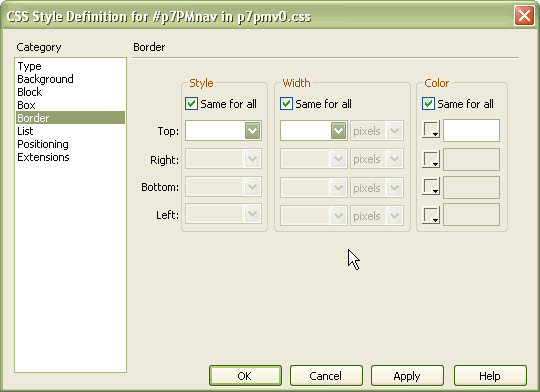
-Click OK to apply the change.
Remove the sub-menu borders
The root menu border is controlled by the #p7PMnav ul rule.
-Open the CSS Styles panel.
-Find the #p7PMnav ul rule and click once to select it.
![]()
-Click the edit icon along the bottom of the CSS Panel to open Dreamweaver's CSS Editor.
![]()
The CSS Editor will open.
-Switch to the Border Category.
-Clear each of the input boxes so that all boxes are blank.

-Click OK to apply the change.
Your menu will be totally devoid of borders:
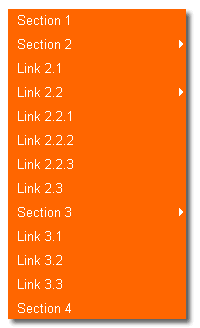
Adding borders to the menu items
The objective is to create a raised button effect with some vertical separation between each one. To accomplish this, you'll add a dark 1-pixel border to the right and bottom sides - and a light 3-pixel border to the top and left. To make the effect pleasantly subtle, the dark border will be a shade of orange slightly darker than the background color, while the light border will be an orange shade lighter than the background. The target rule is #p7PMnav a
-Open your CSS panel.
-Find #p7PMnav a and click it once to select it.
-When the CSS editor opens, switch to the Border Category.
-Leave the Style section Same for all box checked. Select solid as the Top style value. Dreamweaver will automatically select solid for the remaining 3 sides.
-Uncheck the Same for all box in the Width section. Enter the following values:
- Top: 3
- Right: 1
- Bottom: 1
- Left: 3
-Uncheck the Same for all box in the Color section. Enter the following values:
- Top: #FFA062
- Right: #BF4D00
- Bottom: #BF4D00
- Left: #FFA062
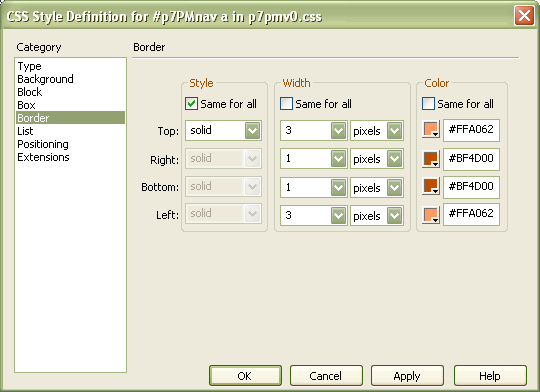
-Click OK to apply your changes.
Your menu will look like this:
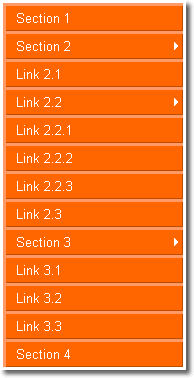
-Preview in your browser. It should look like this:
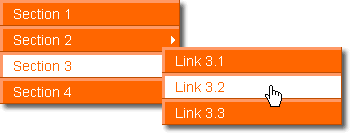
Next: Home
