Some last words
To make the image a reasonable size to display in the opening page of this tutorial, I reduced its size by close to half. If you'd like to do that too...
- Choose Select > Select All, or Shift + select all three layers in the Layers panel
- Choose Modify > Flatten selection
- Next, choose Modify > Transform > Numeric Transform. Scale to 60%
- Choose Modify > Canvas > Trim Canvas
I find that a modest amount of sharpening brightens the image.
- Click on the Add Effect button [+] on the Property inspector
- choose Sharpen > Unsharp Mask. Use the following settings:
- Sharpen amount 50
- Pixel Radius 2.7 to 3.00
- Threshold 0.
The font I used in the image is Amazone BT at 28 points. To optimize the image:
- Choose File > Export Preview. The export settings I used are:
- JPEG
- Quality - 80
- Smoothing - none
- Sharpen Color Edges - checked
The file size rounds out to 30K. It will reduce more if you use a smoothing setting of 1 and uncheck Sharpen Color Edges.
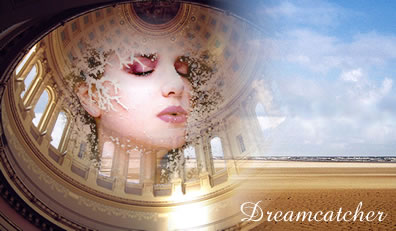
I hope you had fun creating the image, and that doing so has inspired you to learn more about digital Photo and manipulation technique. May your experiments with Photomontage bring you many years of pleasure.