Column Composer Showcase Tutorial 02
Leveraging the power of Column Composer Magic
What you'll learn
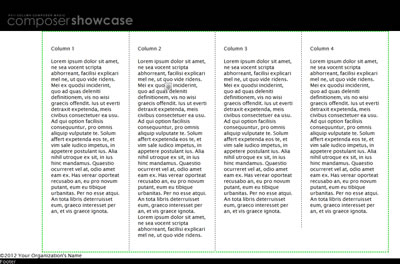
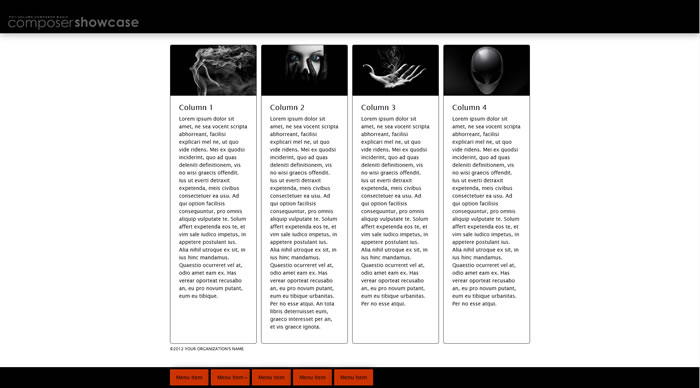
Learn to Harness the power of Column Composer Magic in an easy to follow tutorial. You will be well on the way to understanding how to leverage the power of Column Composer Magic to do your CSS design bidding in ways you may not have thought possible. You'll start with a blank page and, in very little time, you'll make a page that looks just like this one:
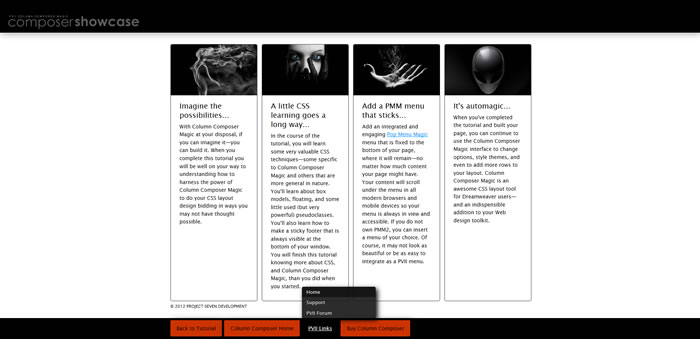
The finished page is a single CCM structure that bears a striking resemblance to the PVII home page—sticky footer and all.
Download the Work Files
We've prepared a folder containing a starter page, CSS file, and images folder. You will use these files to create the CCM Showcase page.
Download the Tutorial Work Files
The folder you download is named p7showcase02.zip
Unzip the folder to your defined Dreamweaver local site. Inside you will find workpage.htm, lorem.htm, p7showcase01.css, p7showcase02-CSS-Guide.css, and an images folder.
NOTE: p7showcase02-CSS-Guide.css is a fully commented version of the tutorial CSS file that is, in effect, a full CSS tutorial in its own right. We recommend reading through it if you would like to learn about the CSS used.
Work with the latest PVII extension version
Before you begin, make sure you have installed the latest version of Column Composer Magic. If you want to include the optional Pop Menu Magic menu on your page, please check that version number as well. Open Adobe Extension Manager and compare the version number of your installed extension(s) against the version numbers listed on our updates page. Update your products if necessary.
Create the Main Structural Elements
Open the workpage.htm file in Dreamweaver. Click once on the page to establish your insertion point.
Open the CCM Interface by clicking its Insert Bar/Panel icon ![]() or choosing:
or choosing:
Insert > Studio VII > Column Composer Magic
The UI will open
Deselect all 3 Outer Style Options
Leave Width set to Auto
Click the Add Row button three times so you have a total of 4 rows listed in the Rows box
Select the first row and set its Row Background to Contrast and Uncheck all boxes in the Row Options section
Leave the second row's Row Background set to Normal and Uncheck all boxes in the Row Options section
Select the third row and set its Row Background to Normal and Uncheck all boxes in the Row Options section
Select the fourth row and set its Row Background to Contrast and Uncheck all boxes in the Row Options section

Select Theme 02-Carbon
Leave all other options default.
Click OK
Your main structure is now built.
Add a logo to the top row
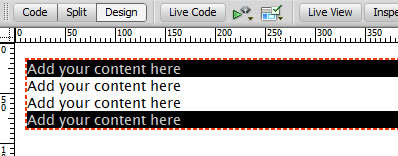
In the first row, place your cursor at the end of the words Add your content here and press your backspace key until all 4 words are removed. Choose Insert > Image and browse to the logo.png file in the images folder that came with your download. Select the image and insert it into the row.

Assign a custom ID to the logo row
Select the logo image and switch to Code View:
<div id="p7CCM_1" class="p7CCM02 p7ccm02-auto">

  <div  class="p7ccm02-content-row p7ccm02-contrast p7ccm-row">

<div class="p7ccm02-1col-column1 p7ccm-col">

<div class="p7ccm02-1col-column1-cnt p7ccm02-content p7ccm02-no-padding"><img src="images/logo.png" width="400" height="90" alt="" /></div>
The image is inside a CCM row. Locate the row's DIV tag (highlighted in red above) and assign it an ID of masthead:
<div id="masthead" class="p7ccm02-content-row p7ccm02-contrast p7ccm-row">
Switch back to Design View.
Create the 4-column main content structure
Inside the second row we will nest a new 4-column CCM structure. Place your cursor at the end of the words Add your content here and press your backspace key until all 4 words are removed.
Open the CCM interface. The system will detect that your cursor is inside an existing CCM structure and you will be presented with the Select Action dialog
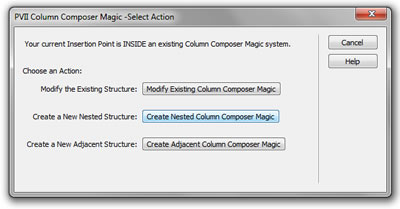
Click the Create Nested Column Composer Magic button
The main CCM interface will open
Deselect (uncheck) all Outer Style Options
For Width, select Fixed: 980px
For Column Layout select 4 Column - Auto Width
Set Theme to 02-Carbon
Leave all other settings default
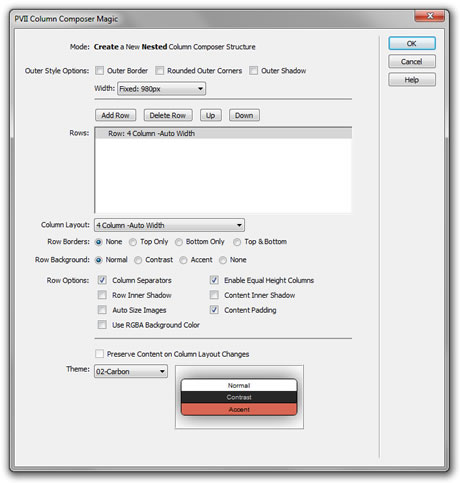
Click OK

Replace the column placeholder text
Replace the default text at the top of each column with Column 1, Column 2, Column 3, and Column 4.

Assign an ID to the containing row of the 4 content columns
Place your cursor inside the Column 1 column and switch to Code View. Locate the containing row's DIV tag (we've highlighted it in red below):
<div id="p7CCM_2" class="p7CCM02 p7ccm02-fixed-980">

  <div class="p7ccm02-content-row p7ccm-row">

<div id="c1" class="p7ccm02-4col-auto-column1 p7ccm-col">

<div class="p7ccm02-4col-auto-column1-cnt p7ccm02-content p7ehc-1">Column 1</div>
Assign to the row DIV an ID of "ccm-showcase2":
<div id="ccm-showcase2" class="p7ccm02-content-row p7ccm-row">
Assign an ID to each of the 4 content columns
Now we'll assign custom IDs to each of the 4 column DIVs, which are the DIVs that come just before each of the content DIVs. They are very easy to locate. Just find each instance of your column placeholder text and the associated column DIV will be on the line before it. Assign each of the 4 column DIVs an ID of "c1", "c2", "c3", and "c4" respectively.
Here is the first one (highlighted in red)—with its ID assigned
<div id="ccm-showcase2" class="p7ccm02-content-row p7ccm-row">

  <div id="c1" class="p7ccm02-4col-auto-column1 p7ccm-col">

<div class="p7ccm02-4col-auto-column1-cnt p7ccm02-content p7ehc-1">Column 1</div>
Here is the second one:
<div id="c2" class="p7ccm02-4col-auto-column2 p7ccm-col">

  <div class="p7ccm02-4col-auto-column2-cnt p7ccm02-content p7ccm02-left-right-border p7ehc-1">Column 2</div>
Here is the third one:
<div id="c3" class="p7ccm02-4col-auto-column3 p7ccm-col">

  <div class="p7ccm02-4col-auto-column3-cnt p7ccm02-content p7ccm02-right-border p7ehc-1">Column 3</div>
And here is the fourth one:
<div id="c4" class="p7ccm02-4col-auto-column4 p7ccm-col">

  <div class="p7ccm02-4col-auto-column4-cnt p7ccm02-content p7ehc-1">Column 4</div>
Add additional content to the 4 columns
Select the placeholder text Column 1 and use your Property Inspector's Format box to set it to a Heading 2. Repeat the process to turn the placeholder text in the other 3 columns to headings.
Add some boilerplate text below each heading. If you do not have a sample text generator, open the lorem.htm file in your work folder and copy some of the text. Add a couple of extra lines in one of the columns so you can see how nicely the Equal Heights Column feature works.
Preview in a browser
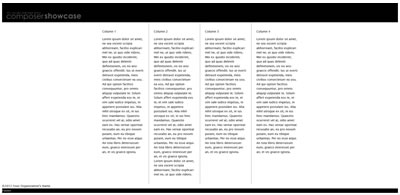
Your page is shaping up nicely. Now let's add a copyright notice, a menu, and apply the CSS edits.
Adding a copyright notice
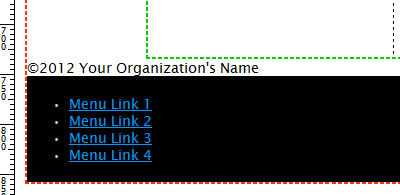
Switch to Design View and place your cursor at the end of the words Add your content here in the third row and press your backspace key until all 4 words are removed. Type in a copyright notice or copy this one: "©2012 Your Organization's Name".

Place your cursor inside the copyright notice and switch to Code View. Add an ID of "copyright" to the DIV that contains your copyright notice:
<div id="copyright" class="p7ccm02-1col-column1-cnt p7ccm02-content p7ccm02-no-padding">©2012 Your Organization's Name</div>
Replace the placeholder text in the last row
Place your cursor at the end of the words Add your content here in the last row and press your backspace key until all 4 words are removed. Replace the words you removed with the single word Footer.
Assigning an ID to the last row
Place your cursor inside the text "Footer" in the last row text and then switch to Code View. You will find the row's content DIV, and parent DIVs, which look like this:
<div class="p7ccm02-content-row p7ccm02-contrast p7ccm-row">

<div class="p7ccm02-1col-column1 p7ccm-col">

<div class="p7ccm02-1col-column1-cnt p7ccm02-content p7ccm02-no-padding">Footer</div>
Assign an ID of "footer" to the DIV tag of the parent row and an ID of "footer-content" to the content DIV:
<div id="footer" class="p7ccm02-content-row p7ccm02-contrast p7ccm-row">

<div class="p7ccm02-1col-column1 p7ccm-col">

<div id="footer-content" class="p7ccm02-1col-column1-cnt p7ccm02-content p7ccm02-no-padding">Footer</div>
Create a menu
If you have Pop Menu Magic 2 skip to step 2
1. Static Menu
This section is for users not having Pop Menu Magic 2
Open the lorem.htm file in your P7CCM-Showcase-01 folder and you will find a list of links. Place your cursor inside one of the links and locate its tag ul.footer-menu-list on the Tag Selector bar along the bottom of your Dreamweaver window. Click the tag and then copy it to your clipboard.
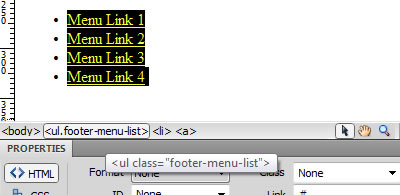
Place your cursor at the end of the placeholder text "Footer" in the last row and press your backspace key until the word is removed. Paste the menu list in its place:
Tip: Don't worry about styles or link colors. That will all be handled a little later when we link the Showcase CSS file to the page.
2. Create a Pop Menu Magic 2 Menu
Place your cursor at the end of the placeholder text "Footer" in the last row and press your backspace key until the word is removed.
Open the Pop Menu Magic 2 interface by clicking its icon ![]() on your Insert Bar or Panel, or choose:
on your Insert Bar or Panel, or choose:
Insert > Studio VII > Pop Menu Magic 2
The PMM2 interface will open
Add 4 or 5 root menu items and add a Sub-Menu to one or two of the root items
For Menu Type, choose Horizontal
For Sub Menu Offset, enter 40 for the Top value
For Animation method, select 4-Text Slide
Activate (check) the Open Sub Menu Upward option
Choose Style Theme 09-Pipes
Leave all other options set to their default values
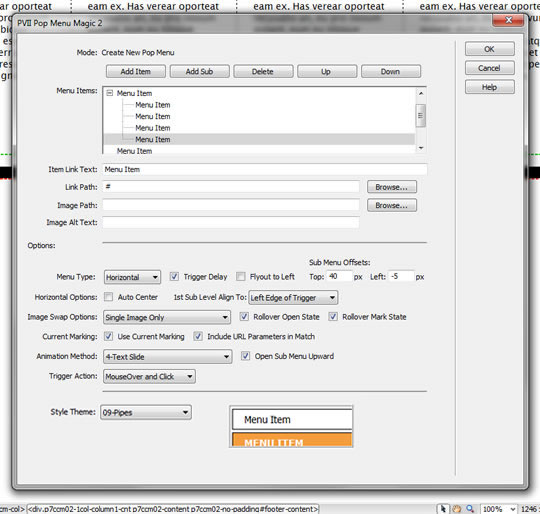
Click OK and preview in a browser
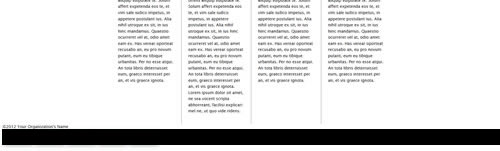
The page is shaping up, though it does not yet look like our finished page and the menu is totally invisible. Do not worry. In a moment you will witness a magical CSS metamorphosis—and even your menu will make a grand entrance.
The Showcase CSS file
Now we're ready to add the final touch. We'll link the p7showcase02.css file to the page. Up until now, we've relied on the default CCM style sheet. Like most CSS frameworks, Column Composer CSS files are core CSS files—and seldom need to be edited. One of the more powerful features of Column Composer Magic is that it is programmed to support user-assigned classes and IDs. The classes and IDs we've assigned in this tutorial are perfect examples.
The p7showcase02.css file also contains a few special rules that seamlessly integrate the PMM2 menu or style the static menu links. The CSS file is heavily commented so it would be a good extra exercise for you to read through it when you've got a few moments.
Linking the Showcase CSS file
Now we'll link the p7showcase02.css file to the page. Open your CSS Styles Panel. If it's not already open, press Shift + F11 on your keyboard.
At the bottom of your panel you will see 5 icons. Click the first icon on the left:
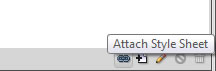
The Attach External Style Sheet dialog will open
Enter p7showcase02.css inside the File/URL box
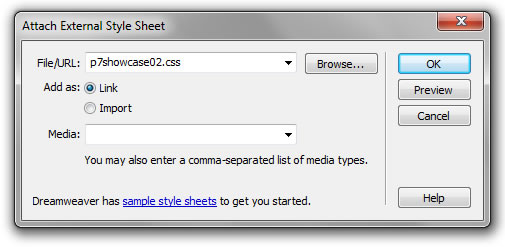
Click the OK button
Preview in a browser:
Now that's looking good! Note that the footer menu is pinned to the bottom of the window and if you need to scroll the page, the content scrolls under the menu, which remains fixed at the bottom. To learn how this was done, open the p7showcase02-CSS-Guide.css file, which is thoroughly commented and a major learning aid in its own right. And where did the images atop each column come from? They are background images assigned to each of the columns. In the CSS-Guide file comments you will learn how to change them to your own images or to remove them.
Good job!