Restoring Dreamweaver's Classic Insert Bar:
Use the Classic Insert Bar in Dreamweaver Creative Cloud (version 13 and up)
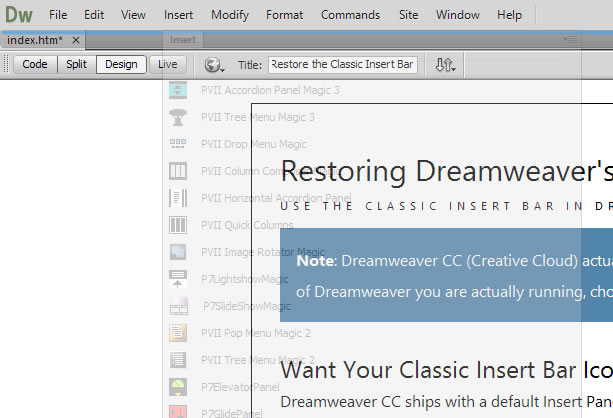
Note: Dreamweaver CC (Creative Cloud) actually began with version number 13—released 17-June-2013. To see what version of Dreamweaver you are actually running, choose Help > About Dreamweaver.
For Creative Cloud Dreamweaver versions 2018 and higher use this Classic Insert Bar for CC 2018 & Higher tutorial.
Want Your Classic Insert Bar Icons Back?
Dreamweaver CC ships with a default Insert Panel
If you prefer the classic Insert Bar of icons that run horizontally across the top of your application window, follow the simple steps below.
Drag it and then Drop it
Click on the Insert tab at the top of your panel
Drag the panel toward the top of your application window—just below the main menu bar ( File | Edit | View...)
When the panel is positioned properly a blue horizontal line will appear and the panel will become transparent
Release your mouse button to drop the panel
Your panel will transform into an icon bar
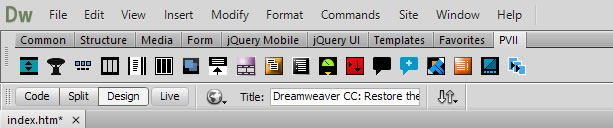
Now you have your classic Insert Bar and, as a bonus, you've perked Dreamweaver up with a needed splash of color.
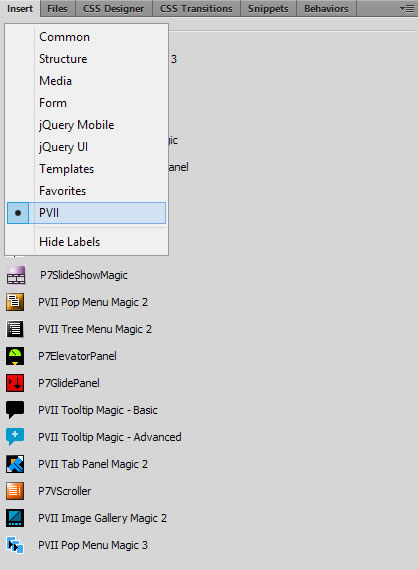
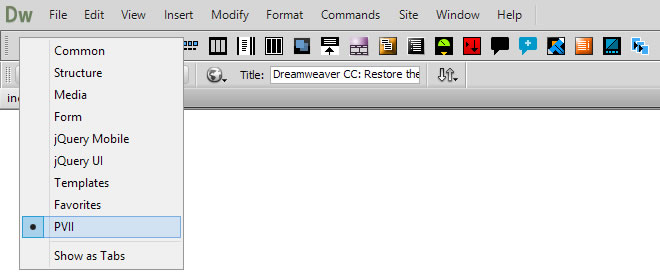
By default, the bar displays with category tabs. You can further customize the bar by setting it to display a menu. To do so, right-click in the tabs area

Select Show as Menu

Click the menu to reveal all of your Insert categories
That's it!