PVII Scroll to Element TutorialPVII is the leader in creative extensions for Dreamweaver
Buy ($45) | Finished Page | STE Home
Learn how to use Scroll to Element to smoothly scroll between sections of your Web page.
1. Download the Assets
We've prepared a folder so that you can complete a finished page in a few minutes. Download the folder, unzip it, and place it inside a defined Dreamweaver site.
Download ste-tutorial folder
Unzip the folder inside your defined Dreamweaver site.
2. Open the Supplied Work Page
In your ste-tutorial folder, locate index.htm and open it.
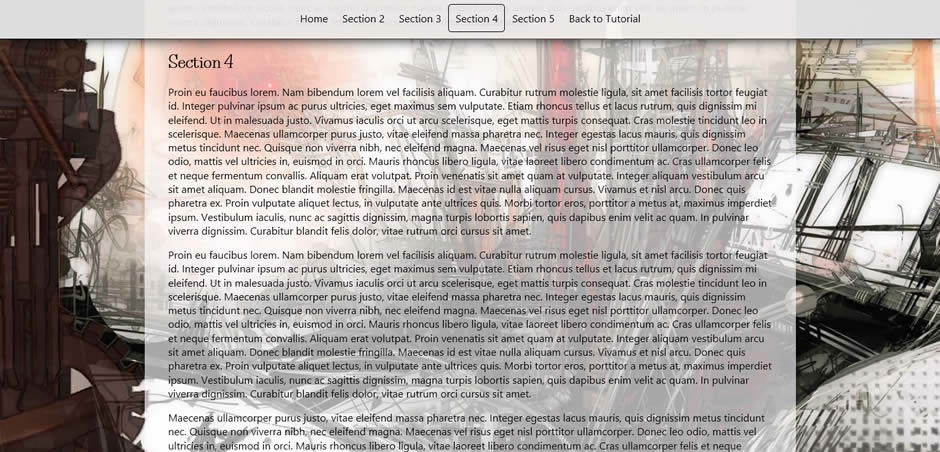
The supplied index page is configured with the markup and CSS necessary to produce the finished page in just a few minutes. You'll learn how amazingly easy Scroll To Element is to use. The page already contains a styled menu bar:

All you need to do is click inside a link and then use the STE interface to set up the scroll-to behavior.
3. Configuring the links
The Home Link
Place your cursor in the Home link and open the STE interface by clicking its icon in the PVII section of Dreamweaver's Insert Panel or Insert Bar.
The UI will automatically pick up your Link Text. The Home link should scroll back to the top of the page, so we will target the masthead DIV, whic has been assigned an ID of mast.
For Element ID, enter mast

Enable the Top Offset Adjustment option
Enter nav in the Height of Page Element with ID box. This will ensure that the scroll position takes into account the fact that our nav element is position fixed.
Click OK.
The Section 2 Link
Place your cursor in the Section 2 link and open the STE interface.
For Element ID, enter sec-2, which is the ID assigned to the Section 2 content DIV.

Enable the Top Offset Adjustment option
Enter nav in the Height of Page Element with ID box. This will ensure that the scroll position takes into account the fact that our nav element is position fixed.
Click OK.
The Section 3 Link
Place your cursor in the Section 3 link and open the STE interface.
For Element ID, enter sec-3, which is the ID assigned to the Section 3 content DIV.
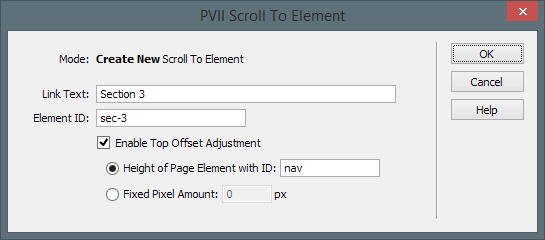
Enable the Top Offset Adjustment option
Enter nav in the Height of Page Element with ID box. This will ensure that the scroll position takes into account the fact that our nav element is position fixed.
Click OK.
The Section 4 Link
Place your cursor in the Section 4 link and open the STE interface.
For Element ID, enter sec-4, which is the ID assigned to the Section 4 content DIV.

Enable the Top Offset Adjustment option
Enter nav in the Height of Page Element with ID box. This will ensure that the scroll position takes into account the fact that our nav element is position fixed.
Click OK.
The Section 5 Link
Place your cursor in the Section 5 link and open the STE interface.
For Element ID, enter sec-5, which is the ID assigned to the Section 5 content DIV.
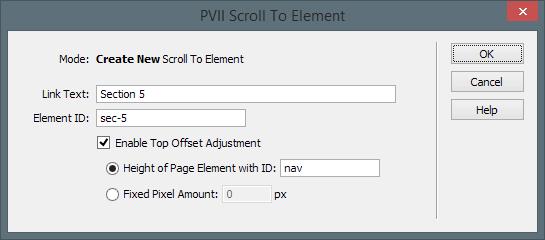
Enable the Top Offset Adjustment option
Enter nav in the Height of Page Element with ID box. This will ensure that the scroll position takes into account the fact that our nav element is position fixed.
Click OK.
Adding Links to the Nav Bar
The Navigation Bar is a simple list, styled with CSS. Upon completing the above steps, the list code will look like this:
<ul>
<li><a href="#mast" class="p7STE-scroll-to-element" data-top-offset-id="nav">Home</a></li>
<li><a href="#sec-2" class="p7STE-scroll-to-element" data-top-offset-id="nav">Section 2</a></li>
<li><a href="#sec-3" class="p7STE-scroll-to-element" data-top-offset-id="nav">Section 3</a></li>
<li><a href="#sec-4" class="p7STE-scroll-to-element" data-top-offset-id="nav">Section 4</a></li>
<li><a href="#sec-5" class="p7STE-scroll-to-element" data-top-offset-id="nav">Section 5</a></li>
</ul>
You cann your own links, even links that go to external pages. To add an About Us link, for example, add a new list item and configure its link to go to your about.htm page:
<ul>
<li><a href="#mast" class="p7STE-scroll-to-element" data-top-offset-id="nav">Home</a></li>
<li><a href="#sec-2" class="p7STE-scroll-to-element" data-top-offset-id="nav">Section 2</a></li>
<li><a href="#sec-3" class="p7STE-scroll-to-element" data-top-offset-id="nav">Section 3</a></li>
<li><a href="#sec-4" class="p7STE-scroll-to-element" data-top-offset-id="nav">Section 4</a></li>
<li><a href="#sec-5" class="p7STE-scroll-to-element" data-top-offset-id="nav">Section 5</a></li>
<li><a href="about.htm">About Us</a></li>
</ul>
That's it! Now you know how powerful Scroll to Element is... and how easy it is to use.