megavator Mega menu Instruction
Customize your Megavator Menus step-by-step
Lesson 2: Set custom panel heading and sub-panel widths,
then position the sub-panels
Custom Sub-Menu Widths and Positioning
Here is the markup for the first sub-menu panel (with text content truncated):
<div id="p7EPMc1_1" class="p7epm_content pan1">
<p>Lorem ipsum dolor...</p>
</div>
Each panel is assigned a custom class. p7epm_content pan followed by a second class that corresponds to the order of your panels—so p7epm_content pan1 is the first sub-menu, p7epm_content pan2 is the second, and so on.
We've included these classes (for 5 sub-menus) in each of the Megavator style sheets:
.p7EPM53 .p7epm_content.pan1 {}
.p7EPM53 .p7epm_content.pan2 {}
.p7EPM53 .p7epm_content.pan3 {}
.p7EPM53 .p7epm_content.pan4 {}
.p7EPM53 .p7epm_content.pan5 {}
Tip: Should you have more than 5 sub-menus, simply add .p7EPM53 .p7epm_content.pan6 {}, and so on to your style sheet.
Let's add a custom width to the first sub-menu.
In your CSS Styles panel, select .p7EPM53 .p7epm_content.pan1
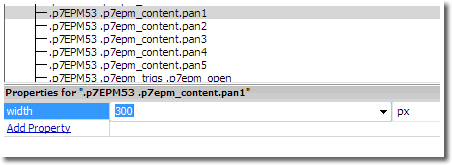
Click the Add Property link and select width
In the value column enter 300 and px for the unit of measure.
Now let's add a custom width to the second sub-menu and let's also position it so that it starts at the left edge of its heading.
Set the width to 300px
As for positioning, we'll use the margin-left property and set it to 113px.
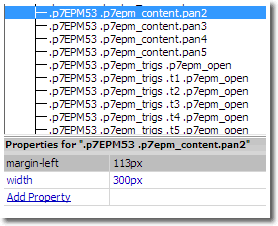
We arrived at 113px because the first heading (#p7EPMtrg1_1) was set to 112px and it has a 1px right border, making the box model width 113.
Let's quickly finish up. Select each of the 3 remaining sub-menu panel classes in your CSS Styles panel and assign a width and a margin-left as follows:
.p7EPM53 .p7epm_content.pan3 {
width: 300px;
margin-left: 226px;
}
.p7EPM53 .p7epm_content.pan4 {
width: 300px;
margin-left: 406px;
}
.p7EPM53 .p7epm_content.pan5 {
width: 300px;
margin-left: 586px;
}
All sub-menu panels are lining up perfectly, but we have a slight problem with the last 2. Sub-menu panel 4 ends several pixels short of the layout and Sub-menu panel 5 goes well beyond the layout boundary.
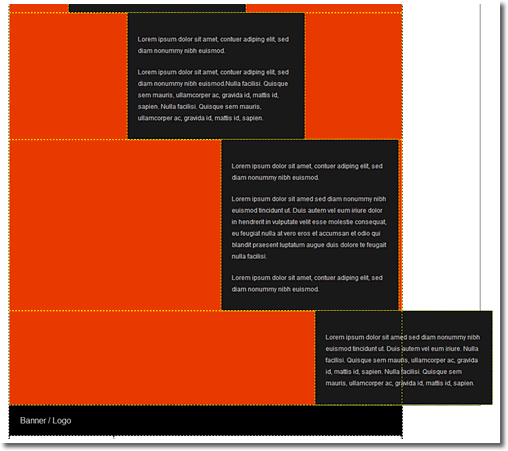
We'll fix this by increasing the width of Sub-menu panel 4 and decreasing the margin-left value for Sub-menu panel 5.
For sub-menu panel 4, change the width to 306px
.p7EPM53 .p7epm_content.pan4 {
width: 306px;
margin-left: 406px;
}
For sub-menu panel 5, change the width to 306px and the margin-left value to 406px
.p7EPM53 .p7epm_content.pan5 {
width: 306px;
margin-left: 406px;
}
That's better.
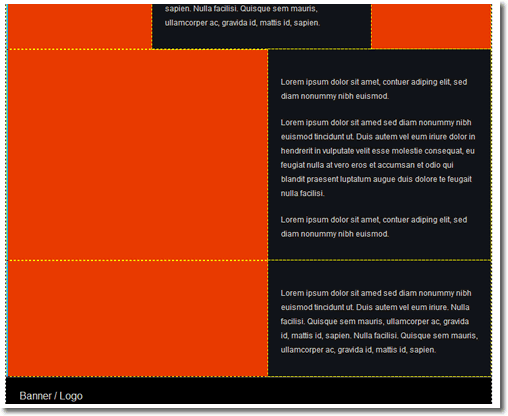
Preview in a browser.
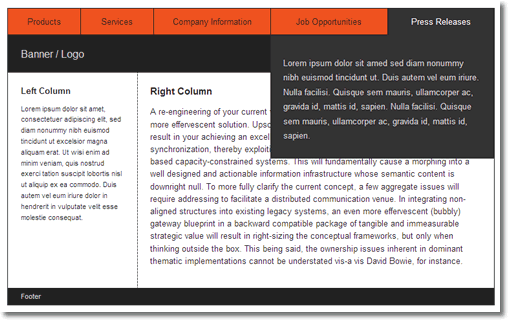
Looking very good.
Now let's learn how to enter and style sub-panel content in Lesson 3
