MASKS: Combination masks
This project uses another Paste Inside mask, but instead of pasting an image into text, you'lll paste it into a vector shape, and then use the mask group to create the illusion of a reflection in a watch face that might leave you laughing.
- Choose File > Open
- Browse to the PVII_PhotoMagic directory on your hard drive.
- Locate the watch.jpg file and click on it to select it.
- Click on Open
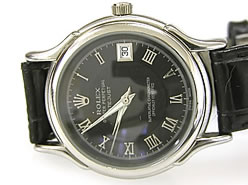
Figure1: The watch image
To create the shape the reflection will be clipped to,
- Click on the Vector Ellipse tool to select it.
- Press Shift and drag out a 206 pixel high by 206 pixel wide circle. If necessary, adjust its dimensions by entering the correct valued into the W and H boxes of the Property inspector.
- With the circle still selected, change the edge type from Anti-Alias to feather. Feather by 32.
- Carefully center the feathered circle over the watch face.
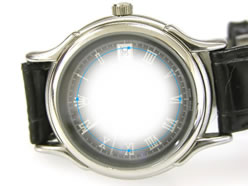
Figure2: The feathered circle
Next you’ll import the reflection image.
- Choose File > Import
- Browse to the PVII_PhotoMagic directory on your hard drive.
- Locate the ducky.jpg file and click on it to select it.
- Click on Open, and then click on the canvas to drop the image.
- Center the duck’s head over the watch face.
Don’t fuss too much with centering it. You’ll be able to adjust its position later. With the duck image still selected,
- Choose Edit > Copy.
- In the Layers panel, click on the hide object icon (the eyeball) next to the duck image thumbnail.
- Select the feathered circle and choose Edit > Paste Inside.
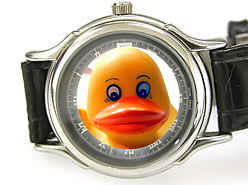
Figure3: The duck image pasted inside the vector shape
Since you don’t need the hidden copy of the duck image any more, you can delete it by dragging its thumbnail into the little garbage can icon at the bottom right of the Layers panel. If you need to reposition the duck’s face inside the clipping mask,
- In the Layers panel, click on the thumbnail of the duck image to highlight it.
- Click on the Move handle (the small blue flower in the center of the selected image) and drag to reposition the image.
The duck image has been clipped to the circle path outline. In the next step, you’ll clip it to the feathering that extends beyond the path.
- In the Layers panel, click on the thumbnail of the clipping mask (the circle) to highlight it.
- In the Property inspector, click in the Grayscale appearance radio button.
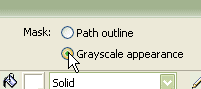
Figure4: Click in the Grayscale radio button
The full alpha range of the feathered circle is now visible in the masked duck image.
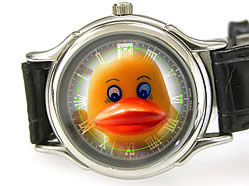
Figure5: The feathered duck head
To make the duck’s face appear to be reflected from the watch face instead of looking out of it, you’ll apply a Blend mode to the mask group.
- In the Layers panel, click on the thumbnail of the duck image to select it.
- On the Property inspector, click on the down arrow of the Blend mode selector to open the Blend mode menu.
- Choose Screen.
- Optional: Click on the down arrow of the opacity selector and move the slider to 80.
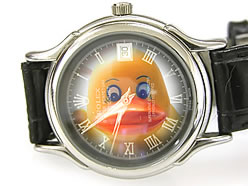
Figure6: The reflected duck
Tip: If you want a more subtle duck face reflection, change the Blend mode from Screen to Tint.