LBM Secret Weapon: User Class
Maximizing LBM with the User Class Option
and Element IDs
If you haven't fully absorbed the LBM User Guide (we're not judging), you might think that your styling options are limited to what is available inside the LBM user interface. Nothing could be further from the truth. The LBM UI gives you the ability to assign both IDs and user-defined classes to every element that comprises your LBM page structure.
The LBM User Class option allows you to assign a custom CSS class to any element within your LBM page structure. This means you can easily create special CSS rules to assign unique attributes to elements contained on multiple pages. It also means that intermediate or expert-level CSS authors can create many different rules that can be assigned conveniently within the LBM interface. These rules can contain properties not available within the LBM UI options, and gives you total freedom with unlimited power!
Note: When creating or assigning your own classes you must be mindful not to use the letters lbm in the CSS selector name.
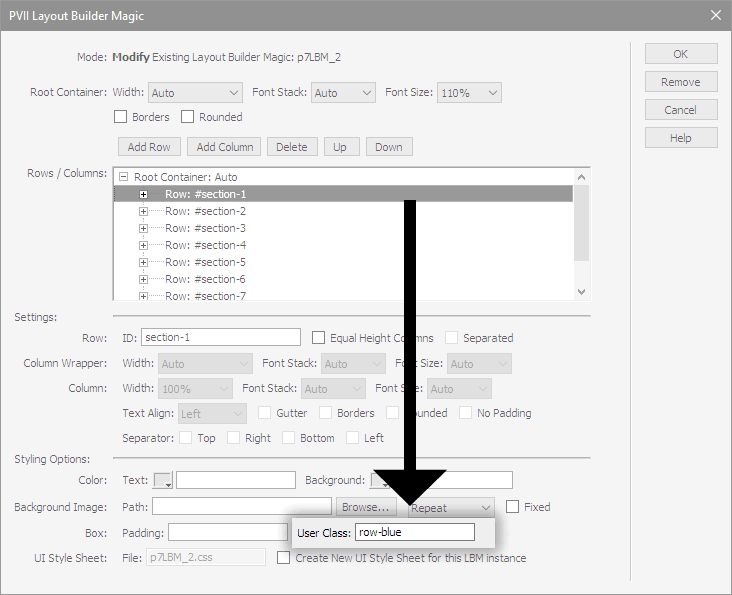
The row-blue class, for example, was used in the creation of this tutorial page. Here is what the rule looks like in our custom style sheet:
.row-blue {
color:#000000;
background-color:rgb(92,143,171);
background:rgba(92,143,171,0.92);
border-bottom: 1px dotted;
}
This gives us the ability to easily define row colors and properties not available in the LBM UI. It also makes it a quicker process—because we do not have to repeatedly select the same colors.
Assigning a User Class
Assignment is done within the friendly confines of the LBM user interface!
Define your style class (or classes) within any style sheet you want.
Open the LBM interface
Select the element you want to assign a user class to
Type the user class name in the user class box
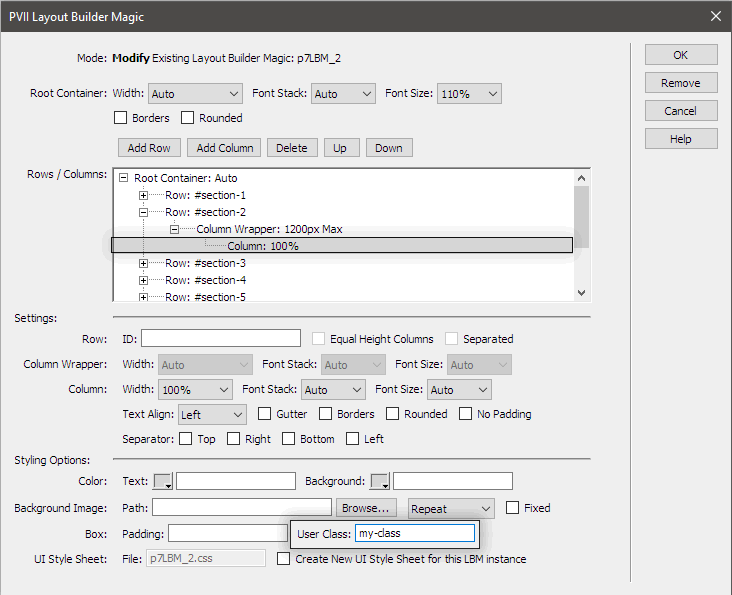
You can also assign multiple classes to a single element. Just type in each class name, separated by a space:
![]()
Using IDs
The LBM interface allows you to assign IDs to any LBM element: Rows, Column Wrappers, and individual Columns. Those IDs become an easy way to identify sections of your page when viewing your source code. It also provides a hook to define corresponding CSS ID Selectors.
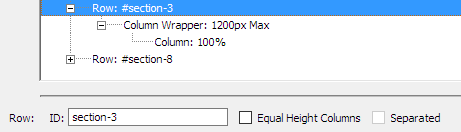
To create a CSS ID Selector rule for a row to which you have assigned an ID of section-3, use this syntax:
#section-3 {
box-shadow: 5px 5px 20px #000;
border-bottom: 1px solid #FFF;
}
Important Notes and Insights
There are many practical applications to what you've learned today. For instance, let's say you have set your root LBM element to a max-width of 1200 pixels in the LBM UI. You site is governed by a Dreamweaver template and you have a particular page that you would like to be constrained to a lesser max-width. If you have assigned a user class (layout-root, e.g.) to your root element, even if it is within a DWT file, you can use that class to create a rule that exists on your new page only. The rule might be:
.layout-root {max-width: 940px;}
The concept is so simple, yet so powerful. What you've learned today cannot be done with the tools Adobe has build into Dreamweaver. The techniques you've learned today will enable you to use Layout Builder Magic to its full potential.
Now that's power. That's automation. That's convenience.
Layout Builder Magic makes Dreamweaver better in so many ways.