The Galleria
A Horizontal Accordion Panel Magic Tutorial
See Finished Page | Horizontal Accordion Home | Buy Now ($95) | Examples
Overview
This tutorial requires Horizontal Accordion Panel Magic version 1.1.7 (or later), which adds the new Galleria Style Theme. To check your version number, choose Commands > Manage Extensions to open the Adobe Extension Manager. Locate the Horizontal Accordion Panel extension and you will see its version number listed next to it. If your version number is less than 1.1.7, go to the updates page and follow the instructions before proceeding. After installing the update, make sure you restart Dreamweaver.
Download the work files
Before you begin, download the work files folder. Unzip the folder, which is named p7Galleria, and place it inside your defined Dreamweaver site.
Download the work files folder
The work files and folders
Inside the p7Galleria folder you will find a workpage.htm page and an assets folder. The assets folder contains a CSS file and an images sub-folder.
Step 1: Create your horizontal accordion widget
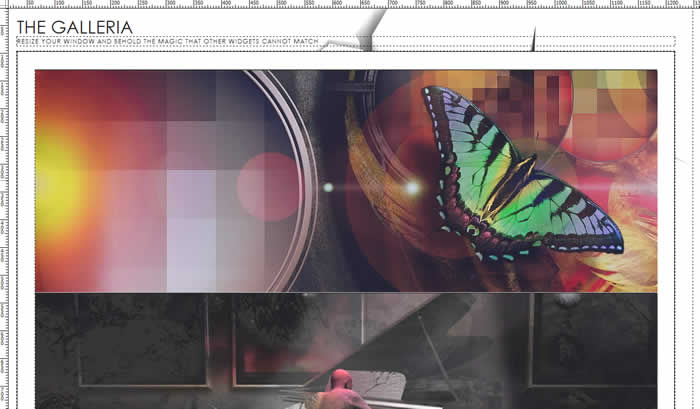
Open workpage.htm, which looks like this:
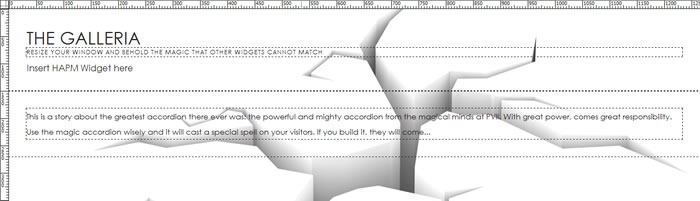
Switch to Code View and locate the placeholder text Insert HAPM Widget here. Highlight the text:
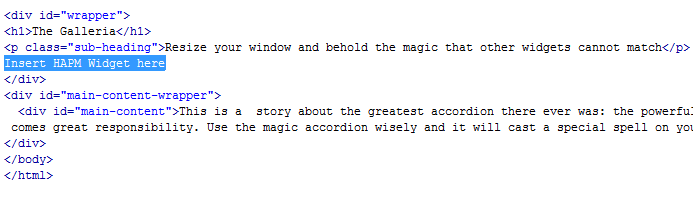
Delete the text, leaving a blank line where it was.
With your cursor on the blank line, open the Horizontal Accordion Magic interface by clicking its icon or by choosing:
Insert > Studio VII > Horizontal Accordion Panel by PVII...
The HAPM interface will open.
Add 3 panels, for a total of 4.
Set the Trigger Text to simple numbers. 1, 2, 3, and 4.
Add a Caption for each panel:
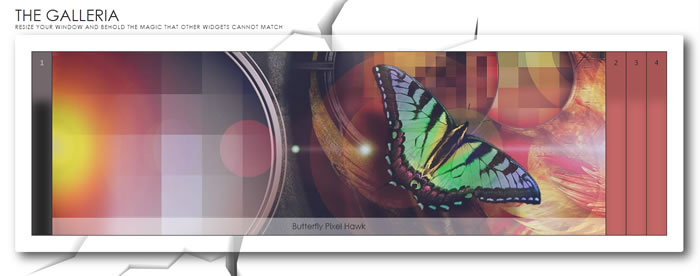
- Butterfly Pixel Hawk
- Coefficient of Snazz
- Rocksmindisoff
- Tall Mammoth Crossing: Switch On Highbeams
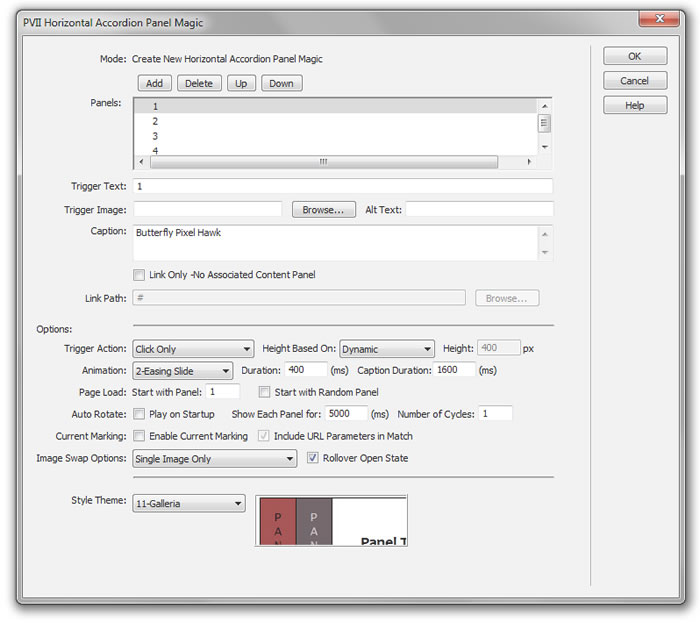
Set Height Based On to Dynamic
Duration to 400
Set Style Theme to 11-Galleria
Leave all other settings default
Click OK
Switch back to Design View. Your page will look like this:
Step 2: Add the Panel Images
We're going to replace the boilerplate text content in each panel with an image.
Place your cursor anywhere inside the first panel content area.
Look at the Tag Selector Bar along the bottom of your window, between the page and the Property Inspector. Click the <p> tag. When you do, all the text inside the panel will highlight.
Press your Delete key to delete the text and the paragraph it is inside of.
Your cursor will be flashing in the blank space formerly occupied by the content.
Choose Insert > Image
Browse to the images folder inside your p7Galleria/assets folder
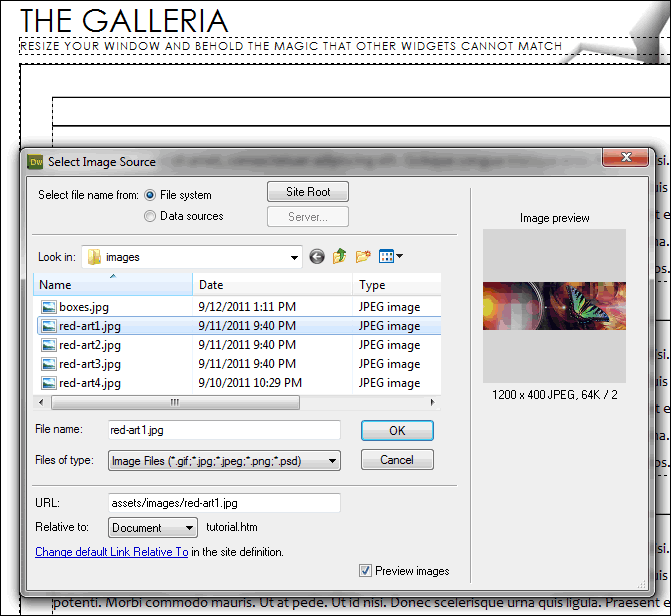
Select red-art1.jpg
Click OK
If you have a modern version of Dreamweaver, an Alternate Text dialog may pop up. Set Alternate Text to Empty. You can edit this later using the Alt box on the Property Inspector if you so desire.
Select the image and delete its width and height by clearing the W and H boxes on your Property Inspector:
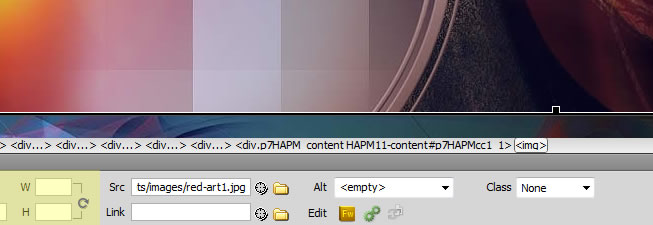
The width and height must be cleared to allow your images to dynamically resize (and maintain natural aspect ratio) based on the browser window size.
Repeat this process to replace the content paragraphs in the remaining 3 panels with:
red-art2.jpg, red-art3.jpg, and red-art4.jpg
Do not forget to clear the width and height of the remaining images.
Your page will now look like this:
Preview in a browser and there you have it!
Notes
The images in your panel will resize perfectly, maintaining their natural aspect ratios, based on the browser window width. This rule in the galleria.css file is what makes that happen:
.HAPM11-content img {
max-width: 100%;
vertical-align: bottom;
}
Of course, you have to be using PVII Horizontal Accordion Panel Magic, the only flexible width horizontal accordion on the planet, or none of this would work!
Fixes for old versions of Internet Explorer
The workpage contains the following IE conditional comments:
<!--[if lte IE 8]>
<style>
.p7HAPM11, .HAPM11-caption-content {filter: alpha(opacity=60); zoom: 1;}
</style>
<![endif]-->
The above conditional comment targets versions less than or equal to IE8. It assigns a Microsoft opacity filter to the root HAPM DIV, making it semi-transparent.
<!--[if lte IE 6]>
<style>
.HAPM11-content img {width: 100%;}
</style>
<![endif]-->
The above conditional comment targets versions less than or equal to IE6. Since IE6 does not understand max-width, we assign a width. This enables the panel images to dynamically resize—even in this very old browser.