Typecrafters is a collection of 8 gorgeous web pages that you can create with a single click from inside a special interface that runs inside Dreamweaver.
One of the bright stars of Typecrafters is the use of CSS sticky, a new value for the position property. Position: sticky allows us to freeze this box as the page scrolls, until you reach the next row. We use sticky boxes throughout this guide and, of course, on the Typecrafters pages you will be creating. Scroll down the page and you should see the vertically centered content in this box move down to the bottom, until the next row is reached.
Typecrafters is a PVII Page Pack, a product that installs into Dreamweaver, giving you a visual and automated means to create fully-styled pages with a single click. The Typecrafters user interface allows you to choose among 8 different layouts. Once you create your page, you can manage its content statically, with server-side or PHP includes, or by using Dreamweaver's built-in Template features. The choice is yours.
We built each Typecrafters layout using our Harmony Page Builder tool, which brings a couple of really important things to the table. It ensures that your page is built using modern CSS that will be relevant for many years to come. It also means that if you own a copy of Harmony, you can edit the layout structure of your pages at will, instantly changing column and row structure, colors, alignment, and many other integral design facets. But owning Harmony is a choice, too. If you prefer to code yourself, then by all means, do so.
Typecrafters pages come with menus powered by Adaptive Menu Magic (AMM). They are fully functional, responsive, and mobile-friendly. We provide a single level (root only) menu, that can be easily edited manually to add or re-order links. The menu is set to fix its position at the top when the page is scrolled and to highlight current-page links. Adaptive Menu Magic is also priority-based. This means that the menu will never wrap to more than a single line. Instead, a dynamic menu item called "More" will be created and any menu items that do not fit in a single row at the root level will be moved to the "More" link as child (drop-down) items. The bottom line is that AMM menus always fit.
No. The menus we deliver are fully functional, and the user guide covers simple menu edits (below), such as adding or removing links. You should consider purchasing AMM if you'd like the convenience of an automated user interface in which you can customize colors, behaviors, animations, as well as adding an unlimited number of sub-levels with just a few clicks. The choice is yours.
Unzip your product file before installing.
Save your original product file in logical folders, named and situated where you will be able find them when you need them. A good idea is to create a new folder on your hard drive and name it PVII Extensions. When you download a product file from us, place the zip file in this folder.
Extension installer files come in 2 formats: MXP and ZXP. MXPs are supported by Extension Manager versions MX, MX2004, 8, CS3, CS4, CS5, CS5.5 and CS6. ZXP is supported by versions CS5.5 and higher. CC (Creative Cloud) versions have dropped support for the MXP format. To continue to support all Adobe customers, regardless of version, we include both the classic MXP and the new ZXP versions.
As of CC 2015, Adobe has ceased to support its own Extension Manager. Use the PVII Extension Manager for Adobe Creative Cloud.
We regularly issue updates to address emerging browser issues, bugs, and also to add or enhance features. Critical updates are announced via email. For scheduled updates, please check our home page regularly for a listing of updates, or go straight to our updates page. Compare the version number of the update to the version number of your installed product. Versions are included in the product file name, as well as in your Dreamweaver Extension Manager. For instance, a product file named p7_Typecrafters_102.zip indicates version 1.0.2 of Typecrafters.
When creating a Typecrafters page, you should remember that you are not performing this task on an existing page. You are creating a new page. The act of creating a Typecrafters page will not affect any Dreamweaver documents that might be open.
To open the interface, choose File > New PVII Page Pack
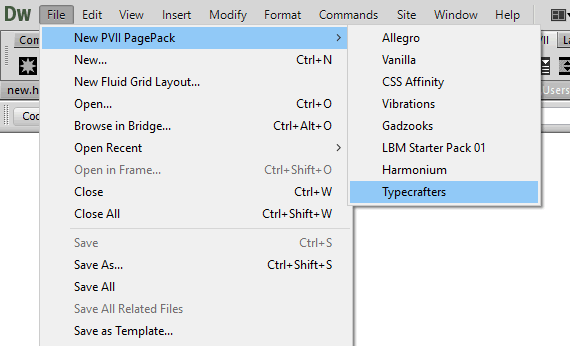
The Interface will open
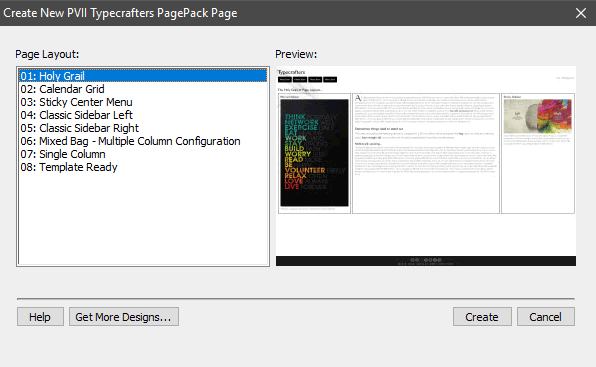
Simply choose a Page Layout and click the Create button. A Save dialog will open.
Give your page a name and save it within your defined Dreamweaver site.
After you create your Typecrafters page, there is an important decision you should make. If you wish to manage site-wide repeating content, such as mastheads, logos, navigation menus, and footers, you need to use some type of site-wide management technique. The most popular method for Dreamweaver users is DWT (Dreamweaver Template). With Typecrafters, it's easy to set up.
After creating your page, edit the content that will be common to all the pages in your site. Finalize your logo and masthead, your menu, and your footer. Now you're ready to make a Template.
Choose File > Save As Template
Follow the onscreen prompts to save your new template. Name it Typecrafters-grail for clarity

Leave the DWT file open, as you'll be doing some work in it.
Switch to Code View in your DWT file.
Until you create an editable content region, all content on your page will be locked. You want your logo to be locked, and your menu, and your footer. But you will certainly need to have your page's main content areas be editable so that you can add relevant content to each of the pages in your site.
In each Typecrafters layout, there are 3 separate Harmony instances. Each instance's root DIV is assigned an ID: p7HMY_1 (Navigation and logo), p7HMY_2 (footer an social icons), and p7HMY_3 (content).
The content area is always going to be p7HMY_3, and that's the DIV we want to wrap inside of an editable region.
Place your cursor inside the p7HMY_3 DIV and click the associated tag on the Tag Selector bar that runs along the bottom of your Code window (just above the property inspector). The entire code for p7HMY_3 will highlight.
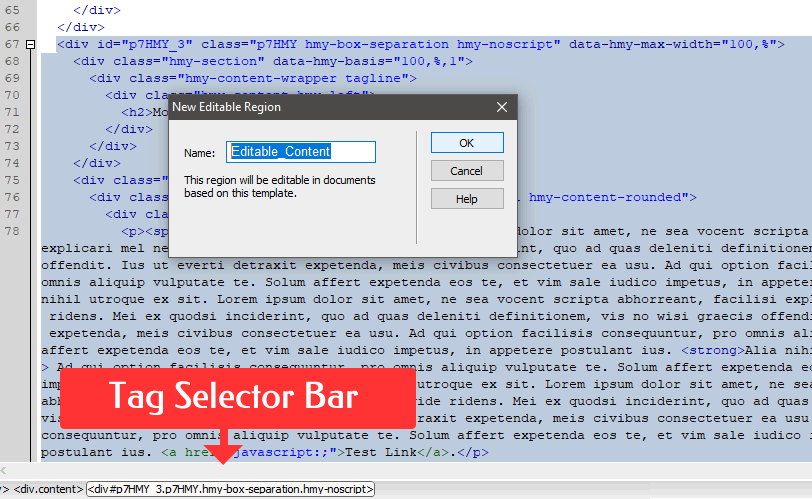
With the p7HMY_3 code still highlighted, choose Insert > Template Objects > Editable Region
Enter a name (Editable_Content is pretty appropriate) and click OK. Your Template is now ready for saving.
Save your DWT file and close it.
Now that your template is saved, you can easily create one or more child pages. To do so...
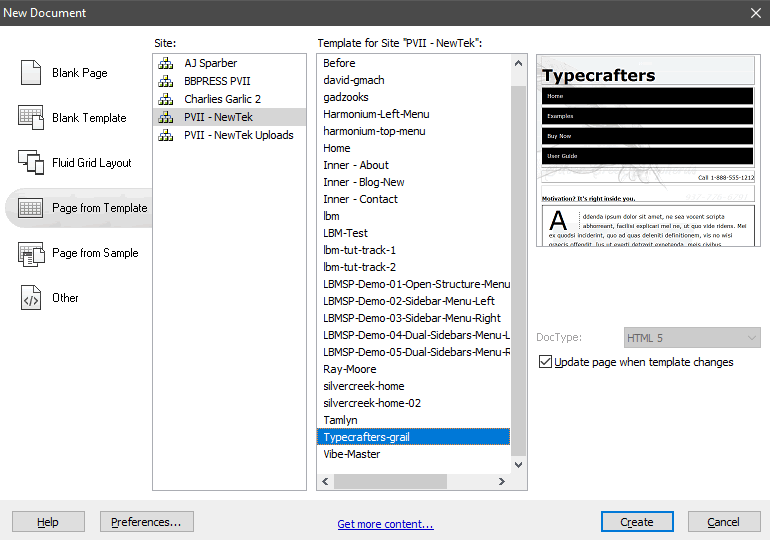
Choose File > New
The New Document Window will open.
Select Typecrafters-grail
The generated page will open. You should save it in your defined site before proceeding.
Note: Make sure you save the page within your defined Dreamweaver site, before beginning to edit it.
As you move your cursor around the page, you'll notice that only the content inside the appropriate Harmony instance is editable.
Use the methods described above and a single Dreamweaver template can drive your entire site—a site where each and every child page can have a completely different structure and look. All you need to do is place your cursor anywhere inside the editable region and open the Harmony interface, where you can then delete columns, add columns, change their width, and so very much more.
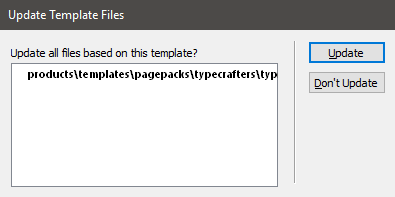
You will not be able to edit or delete any content inside the masthead, footer, or menu. Those areas can only be edited inside your DWT file. Simply open your DWT file, make your changes (a revised logo, a new menu item to access a new page, a new year for your footer's copyright notice). When you save the DWT file, Dreamweaver will ask if you want to update pages based on the template. Click Update to execute all changes.
Sticky columns automatically establish a relationship with their row mates. For an example, this column is set to be sticky. Since the column at right is significantly higher, this column's content will move down the page, within its borders, until the column at right is fully scrolled, at which point the sticky column will continue to scroll with the page, normally.
Nothing could be easier. Once you've decide that a column should be sticky, you can use the Harmony UI to assign the sticky class. If you do not have Harmony, we'll show you how to do it in Code View yourself later.
Open the Harmony UI. Select the column you wish to make sticky.
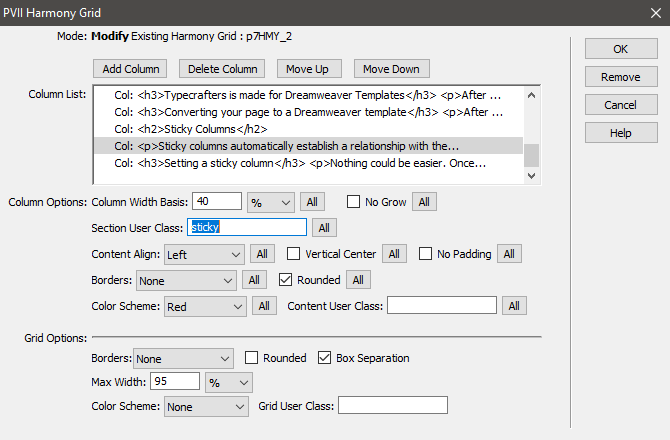
In the Section User Class box, type the word sticky.
That's it.
Place your cursor near the top of the column you wish to make sticky.
Switch to Code View.
Move upwards a couple of lines until you find the hmy-section DIV your column is inside of. It will look like this:
<div class="hmy-section" data-hmy-basis="40,%,1">
Note: The data attribute will reflect your column's width setting, so it will likely be a bit different than our code. This is not a problem.
Locate the class attribute:
class="hmy-section"
Add a second class of sticky.
class="hmy-section sticky"
That's it.
The first box in the calendar has a cool background animation assigned. It was done using Background Animator Magic (BAM). If you do not have a copy of BAM, you can edit this animation manually:
Open your calendar page and locate the BAM images list near the bottom of your code:
<div id="p7BAM_1" class="bam-list bam-noscript bam-rounded bam-color-black">

          <ul id="p7BAMlist_1" class="p7bam-image-list">

          <li><a href="p7typecrafters/img/art-06.jpg" class="bam-type-cover bam-pos-center-center" title="crunch-bang">art-06.jpg</a></li>

          <li><a href="p7typecrafters/img/art-04.jpg" class="bam-type-cover bam-pos-center-center" title="art">art-04.jpg</a></li>

          <li><a href="p7typecrafters/img/art-08-wide.jpg" class="bam-type-cover bam-pos-center-center" title="think-positive-wide">art-08-wide.jpg</a></li>

          </ul>

          </div>
The rotating background images are contained in the unordered list. Simply change the the href values to point to your images.
The Adaptive Menus included with Typecrafters can be edited two ways. If you own Adaptive Menu Magic, you can simply open AMM and every facet of menu management can be accomplished quickly from within an automated UI. If you would rather not purchase AMM at this time, you can edit your Typecrafters menus manually.
Typecrafters menus use the Adaptive Menu Magic scripts and CSS to provide extensive functionality, including fixed positioning on page scroll, current link marking, an menu prioritization with a generated More link when needed to prevent root item wrapping. If you do not yet own Adaptive Menu Magic, you can still perform basic menu editing, such as adding or removing links. You simply need to do it in Code View. The AMM menu code you'll work with looks like this:
<ul class="closed" aria-label="Navigation Menu">

          <li data-amm-priority="0"><a href="#">Menu Item</a></li>

          <li data-amm-priority="0"><a href="#">Menu Item Number Two</a></li>

          <li data-amm-priority="0"><a href="#">Menu Item</a></li>

          <li data-amm-priority="0"><a href="#">Menu Item</a></li>

          </ul>
To add or remove a menu item, simply add a new list (li) element, like this:
<ul class="closed" aria-label="Navigation Menu">

          <li data-amm-priority="0"><a href="#">Menu Item</a></li>

          <li data-amm-priority="0"><a href="#">Menu Item Number Two</a></li>

          <li data-amm-priority="0"><a href="#">Menu Item</a></li>

          <li data-amm-priority="0"><a href="#">Menu Item</a></li>

          <li data-amm-priority="0"><a href="#">New Menu Item</a></li>

          </ul>
That's it!
If you are using Harmony, then changing column colors, adding borders, rounding corners, and much more, are tasks you can accomplish in the Harmony user interface with just a few clicks. If, on the other hand, you are using Typecrafters without benefit of Harmony, then you probably have a decent-to-advanced grasp of CSS. The Typecrafters CSS file is well-commented. The file is called p7Typecrafters-01.css, and is located in the p7typecrafters folder, which was created in your local site, when you created your page.
If there are tasks you need to perform, and you need assistance, simply contact us via email or post on our forum (see support options below) and we'll be happy to help.
Inside the p7typecrafters folder, which is created when you create a Typecrafters page is folder named fonts. This folder contains 3 fonts downloaded from Google Fonts—Buda, Elsie, and Raleway. If you've used our Page Packs before, you might wonder why we are including this folder instead of merely linking to the relevant Google Font from the Typecrafter pages. Please read on.
You can learn the details from a Google Github disclosure page, but the bottom line is that the EU believes Google is using its font linking to track users and/or mine data. Because of this, web site owners in the EU might face fines for non-compliance. The easiest way to comply with EU regulations is to download the fonts from Google and serve them yourself. So we've chosen 3 nice fonts for you, put them in neat folders, wrote the proper CSS to deploy them, and there you go.
The fonts are called via the following rules:
          body {

            display: flex;

            flex-direction: column;

            font-size: 100%;

            font-family: Raleway, Verdana, Geneva, sans-serif;

            background-image: url(img/logo.png);

            background-repeat: no-repeat;

            background-attachment: fixed;

            background-color: rgba(255,255,255,0.95);

            }
          h1, h2, h3, h4, .dropcap {

            font-family: Buda, Verdana, Geneva, sans-serif;

            }
The Elsie font, which we've provided in your fonts folder, is a bit more decorative. Feel free to use it in place of Buda for your headings.
To learn how to choose your own Google fonts while maintaining compliance with the EU, go to this Google page.
Before making a support inquiry, please be certain to have read the documentation that came with your product. Please include your Order Number, Dreamweaver version, as well as your computer operating system type in all support correspondence.
PVII maintains a Web Forum community. Go Direct to the Web Forum
E-Mail: support@projectseven.com
Phone: (336) 374-4611
Phone hours are 9:00am - 5:00pm Eastern Time U.S.