User Guide:
Layout Builder Starter Pack 01 (LBM-SP01)
LBM-SP01 is a remarkable, time-saving tool that extends the power of Layout Builder Magic. If you use Dreamweaver Templates, or have always wanted to learn how to use them, this is a golden opportunity. LBM-SP01 leverages Dreamweaver's Templates Features in a highly efficient and adaptable way for great page design and perfect management of your site-wide repeating assets.
You will be able to manage and edit your navigation bar, logo, and footer inside a single Dreamweaver Template!
Of course, you can also create single pages, just like you can with any other PVII Page Pack.
The choice is yours!
What's Required?
To get the most out of this product, you should have Layout Builder Magic installed, but it is not required. If you don't have LBM installed, you will still be able to make pages. You will simply need to edit the structure manually. LBM adds automation to the process and allows you to easily reconfigure your page's row and column structures. Each page also contains a fully functioning LBM Components menu. If you own LBM Components you will be able to edit the menu using an interface. If not, the menu will still work, but you will need to edit it manually.
Installing LBM-SP01
Extension installer files come in 2 formats: MXP and ZXP. MXPs are supported by Extension Manager versions MX, MX2004, 8, CS3, CS4, CS5, CS5.5 and CS6. ZXP is supported by versions CS5.5 and higher. Version CC and higher have dropped support for the MXP format. To continue to support all Adobe customers, regardless of version, we include both the classic MXP and the new ZXP versions.
Dreamweaver CC 2015 (and higher) Extension Installation Information
As of CC 2015, Adobe has ceased to support its own Extension Manager. Use the PVII Extension Manager for Adobe Creative Cloud...
PVII Extension Manager for Adobe CC
( Windows and Mac)
Download and Install Instructions
Accessing LBM-SP01
To open the LBM-SP01 interface, choose File > New PVII Page Pack
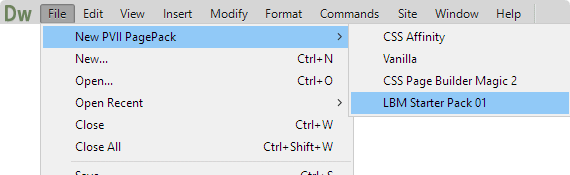
The Interface will open

Your next task is to choose one of two available Page Creation Methods:
Generate Template (DWT) Files
Choose this method if you want to use Templates (DWT Files) to manage your site and its repeating content.
Non-Template Page
Choose this method to simply create a single, non-template page.
Both methods are described in detail below...
Page Creation Methods
There are two ways to create your LBM-SP01 pages.

1. Generate Template (DWT) Files
Clicking the Create Template File for Each Layout button, will result in five DWT files, representing the five Page Layout choices listed at the top of the LBM-SP01 UI, being generated and deposited inside the Templates folder in the root of your defined site. The system will create the folder if it does not already exist.
When you click the Create Template File for Each Layout button, a message will pop up confirming that the operation was successful.
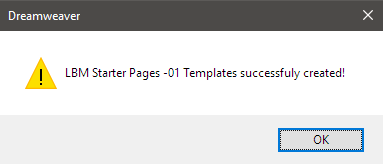
Click OK to dismiss the message and close the LBM-SP01 interface. To create pages, you will use Dreamweaver's New Document window.
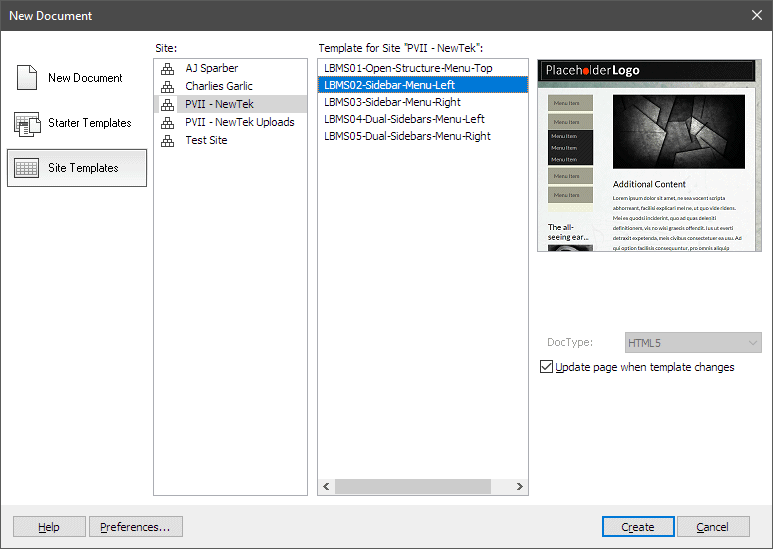
Creating a Page Based on a DWT Template File
Open Dreamweaver's New Document window by choosing File > New...
Note: Depending on your Dreamweaver version, the New Document window might look slightly different.
Choose the Site Templates category, then your local site name, then one of the LBM-SP01 templates.
Click Create to create a new page.
Note: Before editing the page you need to save it. Choose File > Save. The page can be saved inside any folder within your defined site.
2. Create a Single Page (non-template)
To create a single page, click the Create Single Page button.
A Save As window will open.

Save your page by naming it and then click the Save button.
Note: Depending on your operating system, the Save As dialog could look different.
LBM-SP01 Asset Folders
The location of your asset folders, containing CSS, scripts, and images, will differ depending on the page creation method you are using.
Asset Folders for DWT-Based Pages
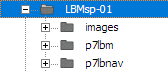
If you are using Dreamweaver Templates, the asset folders will be in the root of your defined site in a folder called LBMsp-01:
Asset Folders for Non-Template Single Pages
For a non-Template page, your asset folders will be created inside the same folder where you saved your page. If, for instance, you created a page inside a folder called test, your assets would be inside the test folder:
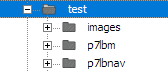
Make sure to upload the asset folders—images, p7lbm, and p7lnav—when publishing to your web server.
Editing Tips
LBM-SP01 is remarkably easy to edit. We've broken down tips into two sections, one for DWT-based pages and the other for single pages.
Editing Single Pages
Editing a Single Page is quite simple. Since it was designed using LBM, simply place your cursor anywhere inside the content area and open the LBM interface. Make changes, add rows, add columns. There is nothing you cannot do.
Editing Template (DWT)-Based Pages
There are two ways you can edit a DWT-based page.: In the associated DWT file or in the attached child page.
Editing the Template (DWT) File
If you want to change the structure or edit content in locked regions (such as the menu, logo, or footer), do that directly inside of the relevant .DWT file that resides inside your Templates folder. You can add or remove menu items, change your logo, or edit your footer. You can also change the main content area's column widths using the LBM interface. Once you've made your changes, simply save the document and Dreamweaver will ask if you would like to update attached pages. The changes will then be automatically applied to all pages attached to the Template.
After editing a Template and updating its child pages, remember to upload the child pages to your web site.
Editing Child Pages
This is where you will see the amazing way we have structured the SP01 template files. You will work inside Editable Regions. Changes made inside editable regions on child pages will only appear on the child page you are editing. They will not appear on any other page, and they will not affect your Template (DWT) file.
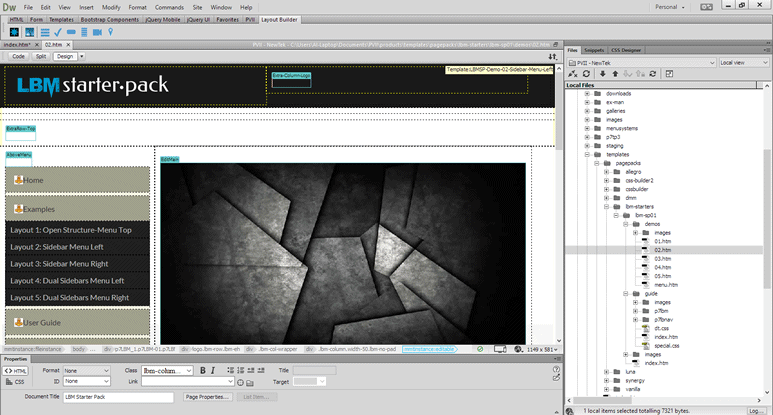
The Editable Regions
The 4 sidebar layouts (Layouts 02-05) are nearly identical. Each sidebar is editable, above and below the menu—which is locked (uneditable).
Starting from the top, there is an empty editable region named Extra-Column-Logo. Use this region to add a second column of content to the right of your logo. If you do not wish to use it, we recommend that you not delete it as you may want to use it one day.
Note: Unused empty editable regions take up no space in the browser. In other words, they are completely invisible unless you add content inside of them.

Between the Logo and the main content area is an editable region named ExtraRow-Top. Use this region to add any type of content you'd like. You can even add a new LBM structure!
Above the menu, you will find an appropriately-named editable region called Above Menu, which should come in very handy if you would like to add something above the menu.
The right column is, of course, your main content area, and is fully editable. The region is named EditMain.
The bottom part of the page also contains some editable regions:
The sidebar (with the exception of the menu) is inside a region called EditSidebar.
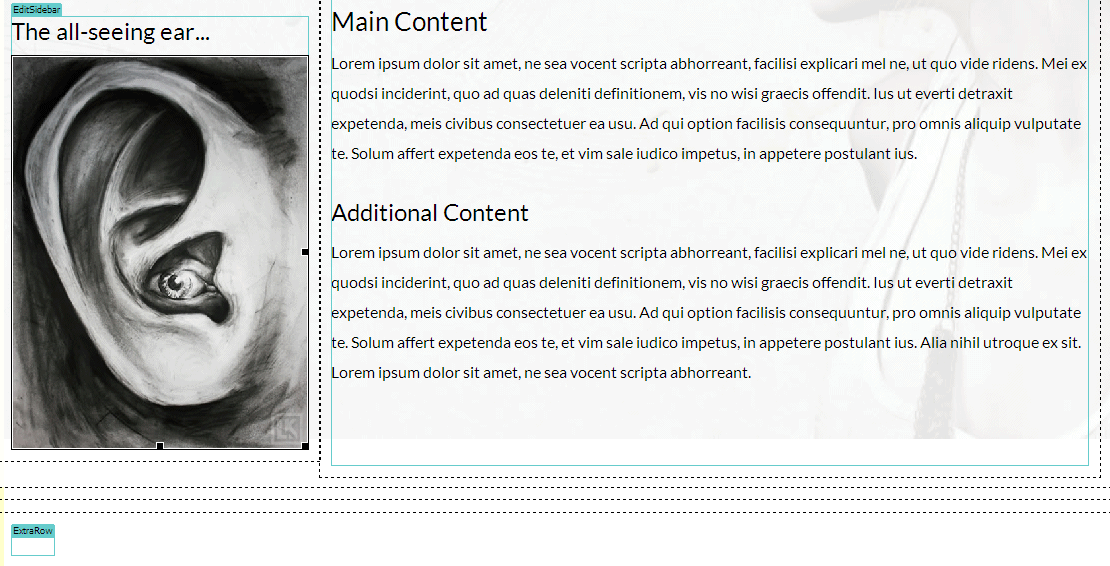
Near the bottom of the page, between the main content structure and the footer, is a region named ExtraRow. Use this region if you ever need to add additional content, or LBM rows or columns to your page.
Layout 1 Differences
Note that Layout 01—LBMS01-Open-Structure-Menu-Top—is a bit different since there is no need to lock a sidebar menu in the middle of the page. Here's how it looks in Design View.
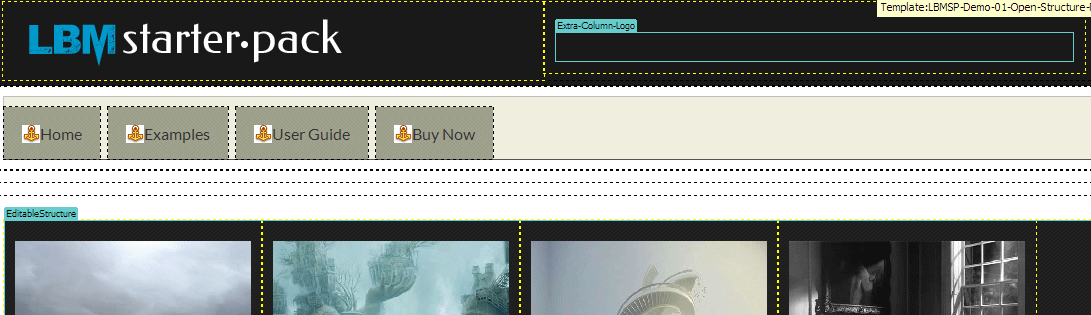
There are only 2 editable regions necessary: Extra-Column-Logo and Editable Structure.
Note that the EditableStructure contains an LBM structure, meaning that there is no limit to how you can customize your child pages. Each of your child pages can have a different number of columns, different column widths, and even additional rows... and they can all be attached to the same Dreamweaver Template file!
CSS Editing
To color the SP01 layouts we tapped into the power of LBM's ID and User Class features, making your pages easy to edit and customize. To learn more about how IDs and User Classes work, see this tutorial:
Your SP01 pages are linked to a special LBM custom style sheet that carries color and other styling options specific to the SP01 Starter Pack. The file is inside your p7lbm folder and is called p7LBMsp-01-Custom.css.
If you need further assistance with CSS editing, contact us using the Support Options below.
Support Options
Before making a support inquiry, please be certain to have read the documentation that came with your product. Please include your Order Number, Dreamweaver version, as well as your computer operating system type in all support correspondence.
Support Forum
PVII maintains a Web Forum community. Go Direct to the Web Forum
E-Mail and Phone Support
E-Mail: support@projectseven.com
Phone: (336) 374-4611
Phone hours are 9:00am - 5:00pm Eastern Time U.S.