PVII Before & After (BFA) Image Comparison widget
User Guide (Version 1.0.9)
This user guide describes features available in the latest current version (1.0.9). If you are running an older version, please check our updates page now. To Navigate this user guide, click the ≡ hamburger icon fixed at the top-right corner of this page.
About Before & After
PVII Before & After (BFA) is a responsive image comparison tool. Each instance of BFA allows you to design a visual comparison between 2 images in one of 4 available modes.
Before & After is responsive and adaptive, working flawlessly in both traditional and mobile browsers, and fully supporting swipe in touch-enabled devices.
Installation
Extension installer files come in 2 formats: MXP and ZXP. MXPs are supported by Extension Manager versions MX, MX2004, 8, CS3, CS4, CS5, CS5.5 and CS6. ZXP is supported by versions CS5.5 and higher. Version CC and higher have dropped support for the MXP format. To continue to support all Adobe customers, regardless of version, we include both the classic MXP and the new ZXP versions.
Dreamweaver CC 2015 (and higher) Extension Installation Information
As of CC 2015, Adobe has ceased to support its own Extension Manager. Use the PVII Extension Manager for Adobe Creative Cloud
PVII Extension Manager for Adobe CC
( Windows and Mac)
Download and Install Instructions
Work in a defined Dreamweaver site
Before you begin, make sure you are working inside a defined Dreamweaver web site. This is necessary so that Dreamweaver knows how to link required assets. If you are new to Dreamweaver or need to learn how to define a web site, please see the documentation that came with your copy of Dreamweaver.
The Before & After User Interface (UI)
If you are using BFA on a new page, or for the first time on an existing page, simply click anywhere on the page in Design View.
Open the UI
There are 2 ways to open the UI. Choose the one that best fits your workflow...
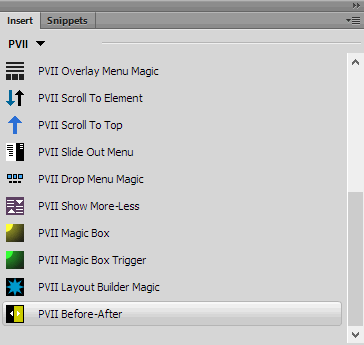
1. Click the BFA icon  in the PVII of Dreamweaver's Insert Bar or Insert Panel.
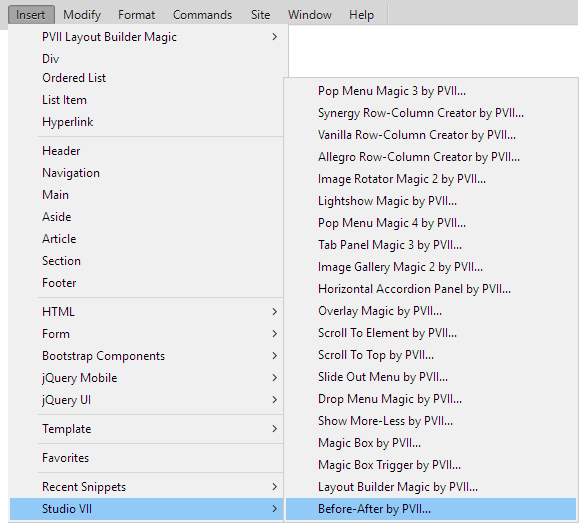
2. Open the Insert Menu
The BFA interface will open in the Create or Modify mode., depending on whether you are creating a new widget or editing an existing one.
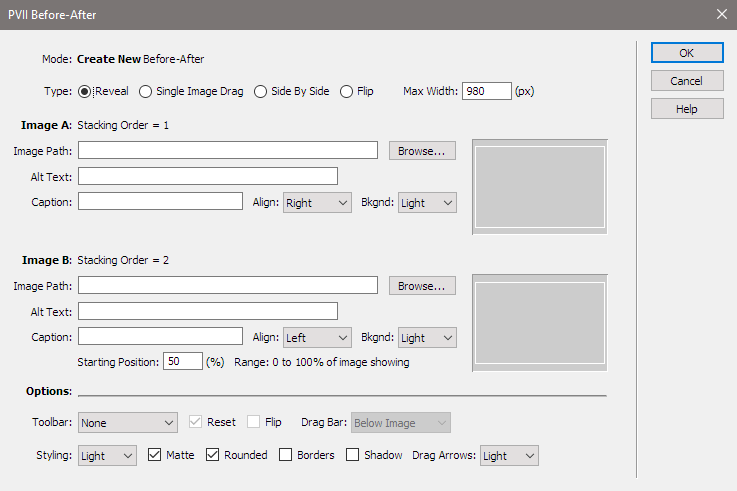
The Create Mode Interface
The Modify Mode Interface
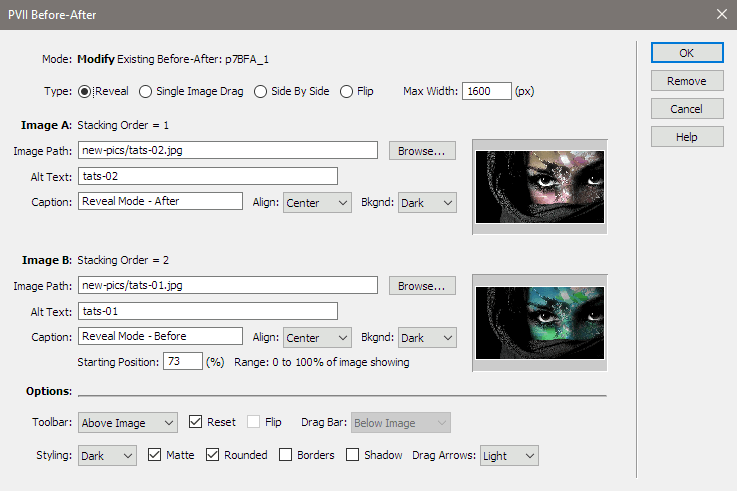
Note that the Modify UI adds a Remove button. Use this button to remove the entire current instance. If there are no BFA instances remaining on your page after removal, the links to the BFA CSS and JavaScript files will also be removed. The actual CSS files will not, however, be deleted from your p7bfa folder.
Asset Folders
When you create a BFA widget, the system creates an assets folder named p7bfa at the same level as the page that contains your BFA widget.
When you publish your site, make sure you upload all p7bfa folders.
Using the BFA User Interface
From the top...
Let's explore each section of the interface and the options they support.
Type
There are 4 modes available:
Reveal
In Reveal mode, Image B, which sits above Image A in the stacking order, acts as if it's a horizontal window shade, rolling itself up over Image A. In the process, Image A is revealed or hidden. Neither of the images actually moves, the effect is, as the name implies, the act of revealing and hiding parts of Image A. This mode works well for retouched/restored images, where scene and perspective are identical, as one image will appear to morph into the other as you drag.
In this mode, a drag arrow icon ![]() (which can be set light or dark) appears along the line that divides the viewport. This icon gives a good visual clue as to how the widget works. Users can drag the icon or the images.
(which can be set light or dark) appears along the line that divides the viewport. This icon gives a good visual clue as to how the widget works. Users can drag the icon or the images.
Drag Arrow Icon
![]()
Single Image Drag
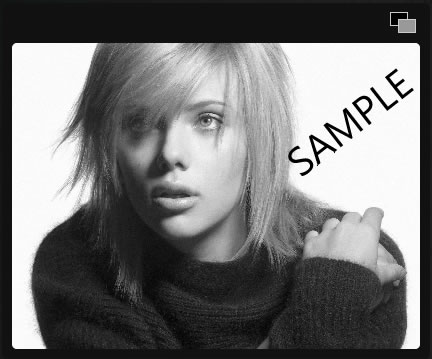
In this mode, Image B is dragged over the top of Image A. As Image B is dragged, it becomes semi-transparent, allowing the user to see the underlying Image A in its entirety. This mode is ideal for comparing before and after images, where the scene or perspective of each image is markedly different.
This mode also uses the drag icon ![]() appears along the line that divides the viewport. This icon gives a good visual clue as to how the widget works. Users can drag the icon or the images.
appears along the line that divides the viewport. This icon gives a good visual clue as to how the widget works. Users can drag the icon or the images.
Side by Side
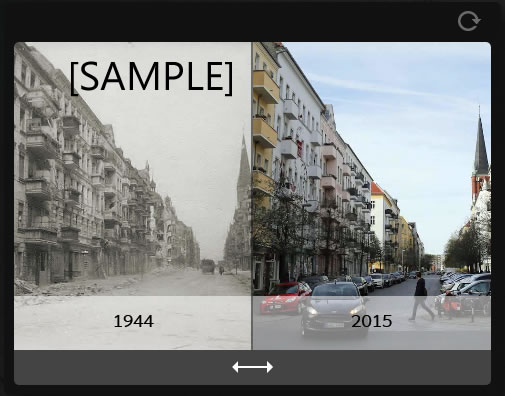
As its name implies, this mode allows each image to appear side-by-side, within a divided viewport, whose boundary is defined by a vertical line. The width of each viewport is determined by the starting position (a percentage) set by the designer. If the starting position is 50%, for example, each viewport will be exactly half as wide as the entire viewport. The user can drag from any point within the viewport, and both images will move simultaneously and in perfect sync. As each image crosses the viewport boundary, it passes underneath. This can be a powerful way to compare historic or technical images.
When this mode is selected, a Drag Bar is created, by default, which can be set to appear either above or below the image. Users can either drag the images or use the drag bar.
Drag Bar
The screen capture below depicts Side by Side mode with Drag Bar below image, a toolbar with reset icon above, and optional captions.
Flip
This is a thoroughly modern and responsive version of the old swap-image effects popular in the late 1990s. A toolbar, containing the Flip icon ![]() is displayed on a toolbar, either above or below the images. Clicking the icon triggers a swap-image effect, with a fade animation.
is displayed on a toolbar, either above or below the images. Clicking the icon triggers a swap-image effect, with a fade animation.
Toolbar with Flip Icon
Max Width
When you browse to an image, the UI automatically sets the Max Width value to the natural width of your image. You can accept that value or change it, depending on your needs.
Images
Since BFA is an image comparison widget, you need to select two images, each the same size.
Image A and Image B
Image A has a stacking order of 1 and always displays below Image B. For each image, the following options and settings apply and can be set separately for each image:
Image Path
Enter the path or Browse to your image.
Alt Text
By default, we set the value to the image file name. Change it to whatever you want.
Caption
Enter a caption into the box and it will appear overlaid near the bottom of your image.
Align
Set alignment for your caption. Each cation can be set separately.
Bkgrnd
Choose a light or dark semi-transparent background color for your captions.
Starting Position
Manage the starting position for your comparison using a percentage value.
Options
Toolbar
Display a toolbar with a reset ![]() icon above or below your images. This icon allows users to reset the starting position to what it was when the page first loaded.
icon above or below your images. This icon allows users to reset the starting position to what it was when the page first loaded.
If using Flip mode, a toolbar will be created automatically, containing the Flip ![]() icon. You can add the Reset icon to the toolbar when using Flip mode.
icon. You can add the Reset icon to the toolbar when using Flip mode.
Drag Bar
When using Side by Side mode, a Drag Bar is required. You can place it above or below your images.
Styling
Set various and self-explanatory styling options.
Support Options
Click the Help Button, please...
Before making a support inquiry, please be certain to have read the documentation that came with your product. Please include your Order Number, Dreamweaver version, as well as your computer operating system type in all support correspondence.
Support Forum
PVII maintains a Web Forum community. Go Direct to the Web Forum
E-Mail and Phone Support
E-Mail: support@projectseven.com
Phone: (336) 374-4611
Phone hours are 9:00am - 5:00pm Eastern Time U.S.